Total time: about 1 1/2 hours. Total cost: Nada (made from stuff I already had).
First of all, what is Steampunk? I'll let Captain Jack explain.
 |
| Captain Jack |
Steampunk, also known as Vintage Future, Neo-Victorian, Gaslamp Fantasy, etc, is basically the Past that Never Was. Most often based on Late Victorian England, you add in a good dash of brass, gears, some Mad Scientists, and, of course, goggles.
 |
| Doctor Horrible's Sing Along Blog---if you haven't seen the awesomeness, you need to. |
There are conventions all over the place, and it's a strange and wonderful style that has appealed to me for many years now. I've wanted to make a pair of spats for a while, and a few snarky comments was all it took to inspire me.
So, onto the tutorial!First, I find an old shirt in a particularly awesome tie-dye, and cut off the sleeves at the shoulder seam:

Then cut a heel space just above the cuff:
I decided i wanted the sleeve seam to run on the outside of my leg, to make the buttons look like they were actually doing something. ;)
I decided i wanted the sleeve seam to run on the outside of my leg, to make the buttons look like they were actually doing something. ;)
 |
| cue the realization that you've cut the left spat on the wrong side. *facepalm* |
Try in on your boot for size--The line you can sort of see is where I cut more off the heel to give it that spat-ish angle.

To make the spat stay up on my leg (if you are using something sturdier than t-shirt material, you may not need to do this) I went for a basic draw-string top, because that was easier than buckles, buttons, etc.
Try on your spat and mark just below your knee.

Turn it inside out, fold over the extra at the top until the line you drew is at the fold, ie fold it down until it's the right height. (you can also do this while wearing it, if you want to be more accurate). Sew all the way around about an inch down from the fold, and cut off the excess past the seam. This is honestly the most complicated part, I swear.
 |
| I used pins, but you don't have to. |
Turn it rightside out again, and cut two tiny holes to thread the drawstring through. Use a safety pin or yarn needle to run the string through one hole, around, and out the other.

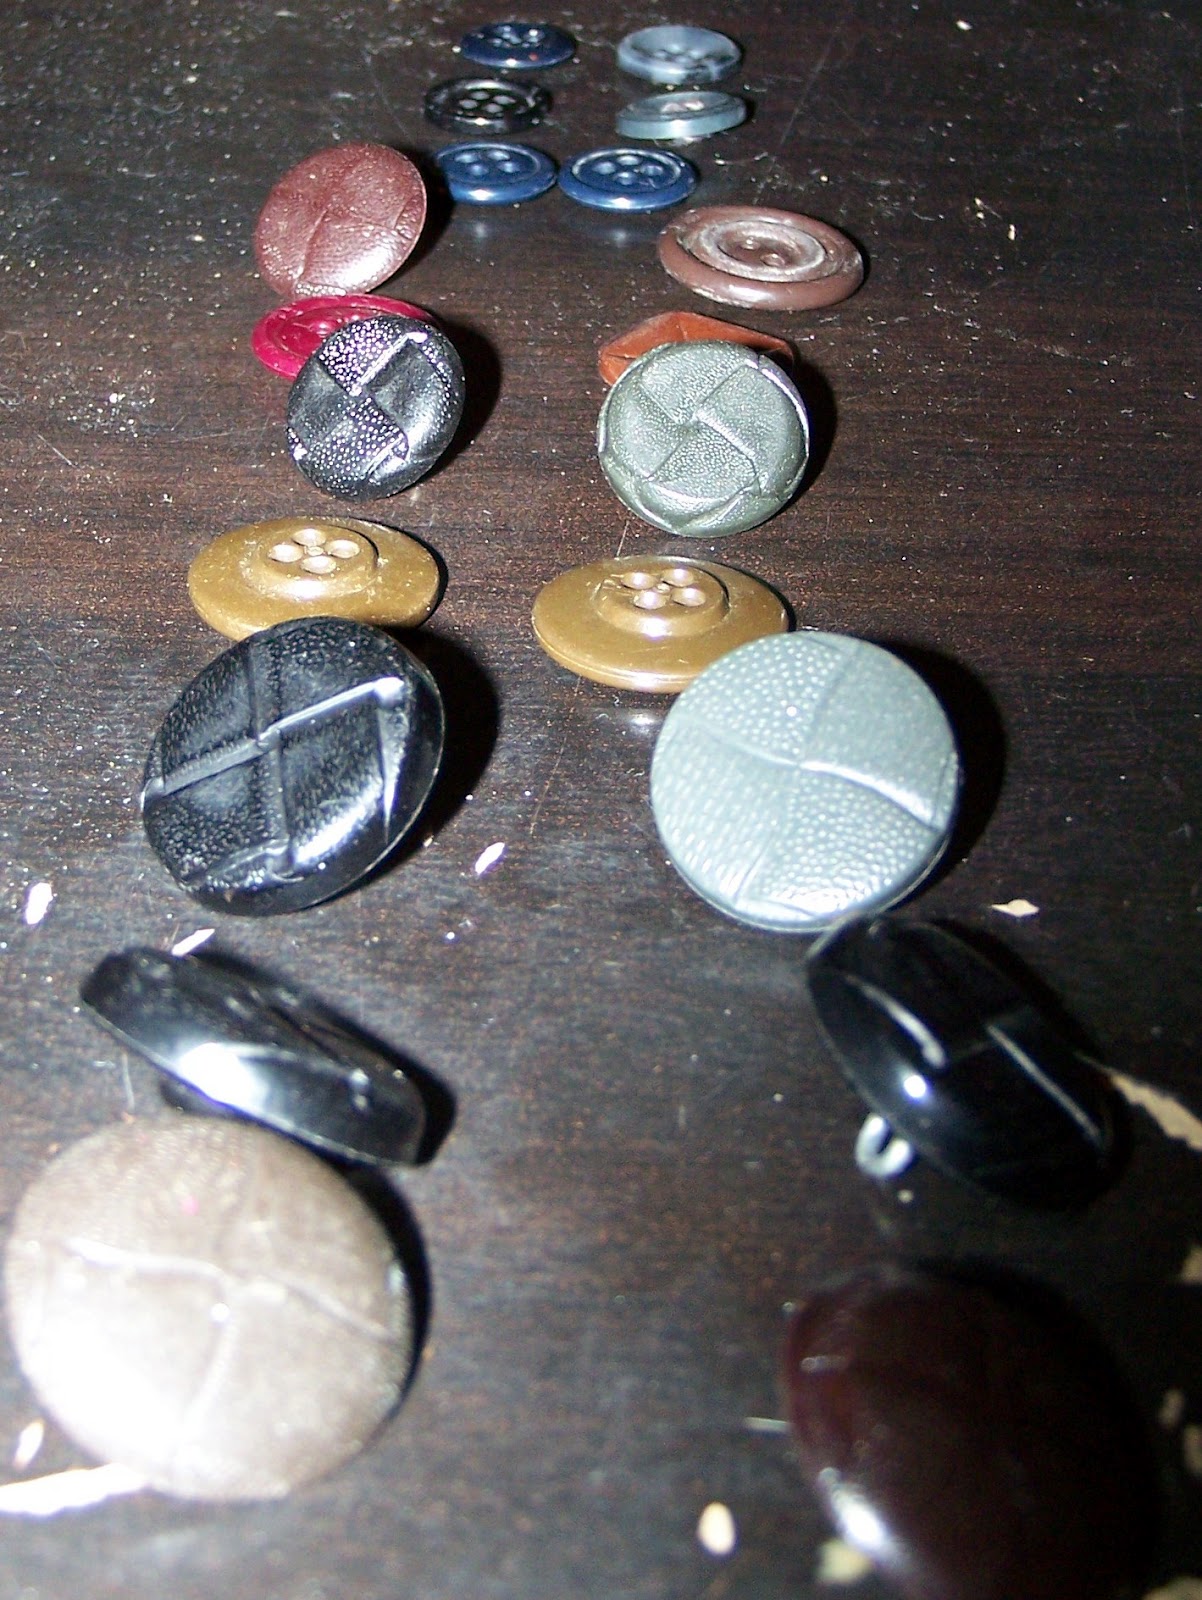
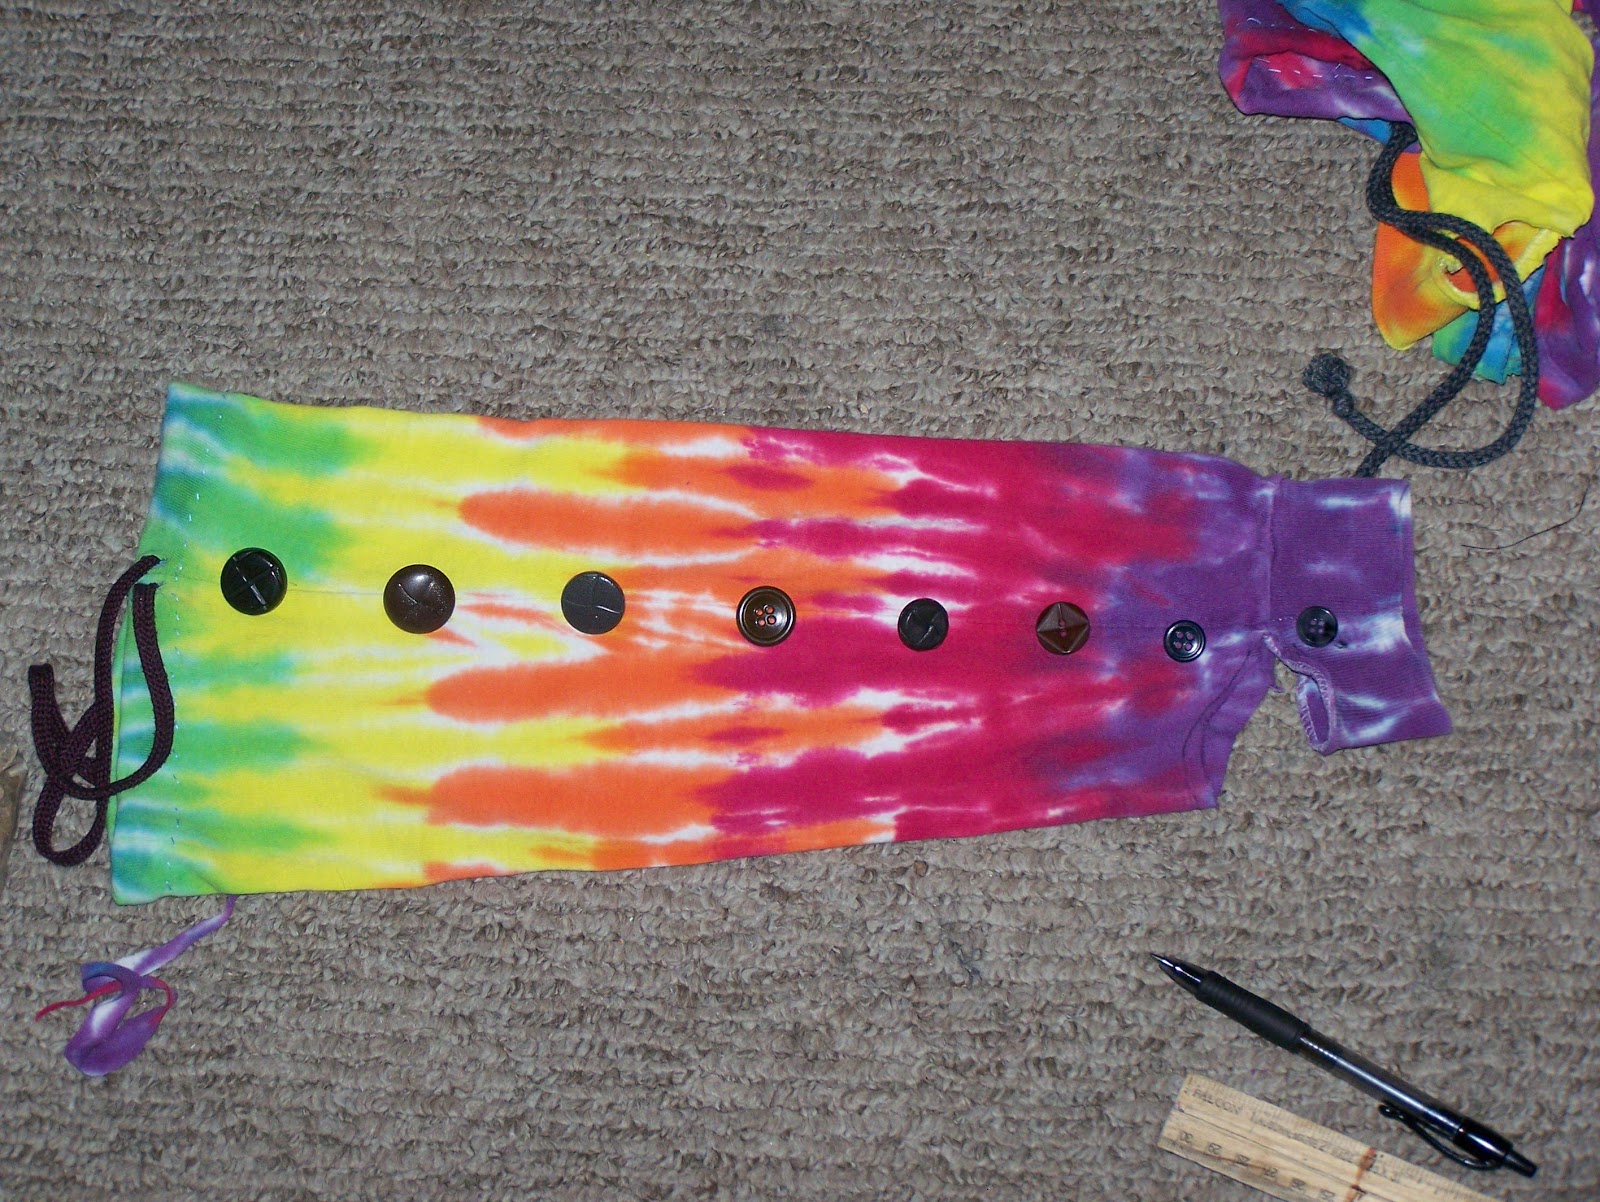
Buttons! Grab whatever buttons you have laying around--I keep mine in a bottle, because why not? I just snagged all of the largest ones I had in dark colors (when not illuminated by the blinding flash, they look a lot closer in color) and lined them up so the spats would match each other (enough).
 |
| Buttons--whee! |
Arrange the buttons on the outside of the spat until they look cool. Put a dot where each one goes and sew them on. (this was the step that took longer than all the rest put together, honestly!
One spat done! Now try it on, rinse, and repeat!

Booyah! One fine pair of awesome spats!

Now go out into the world, little grasshopper, and send me pictures of the spats you make! :D
Now go out into the world, little grasshopper, and send me pictures of the spats you make! :D
No comments:
Post a Comment